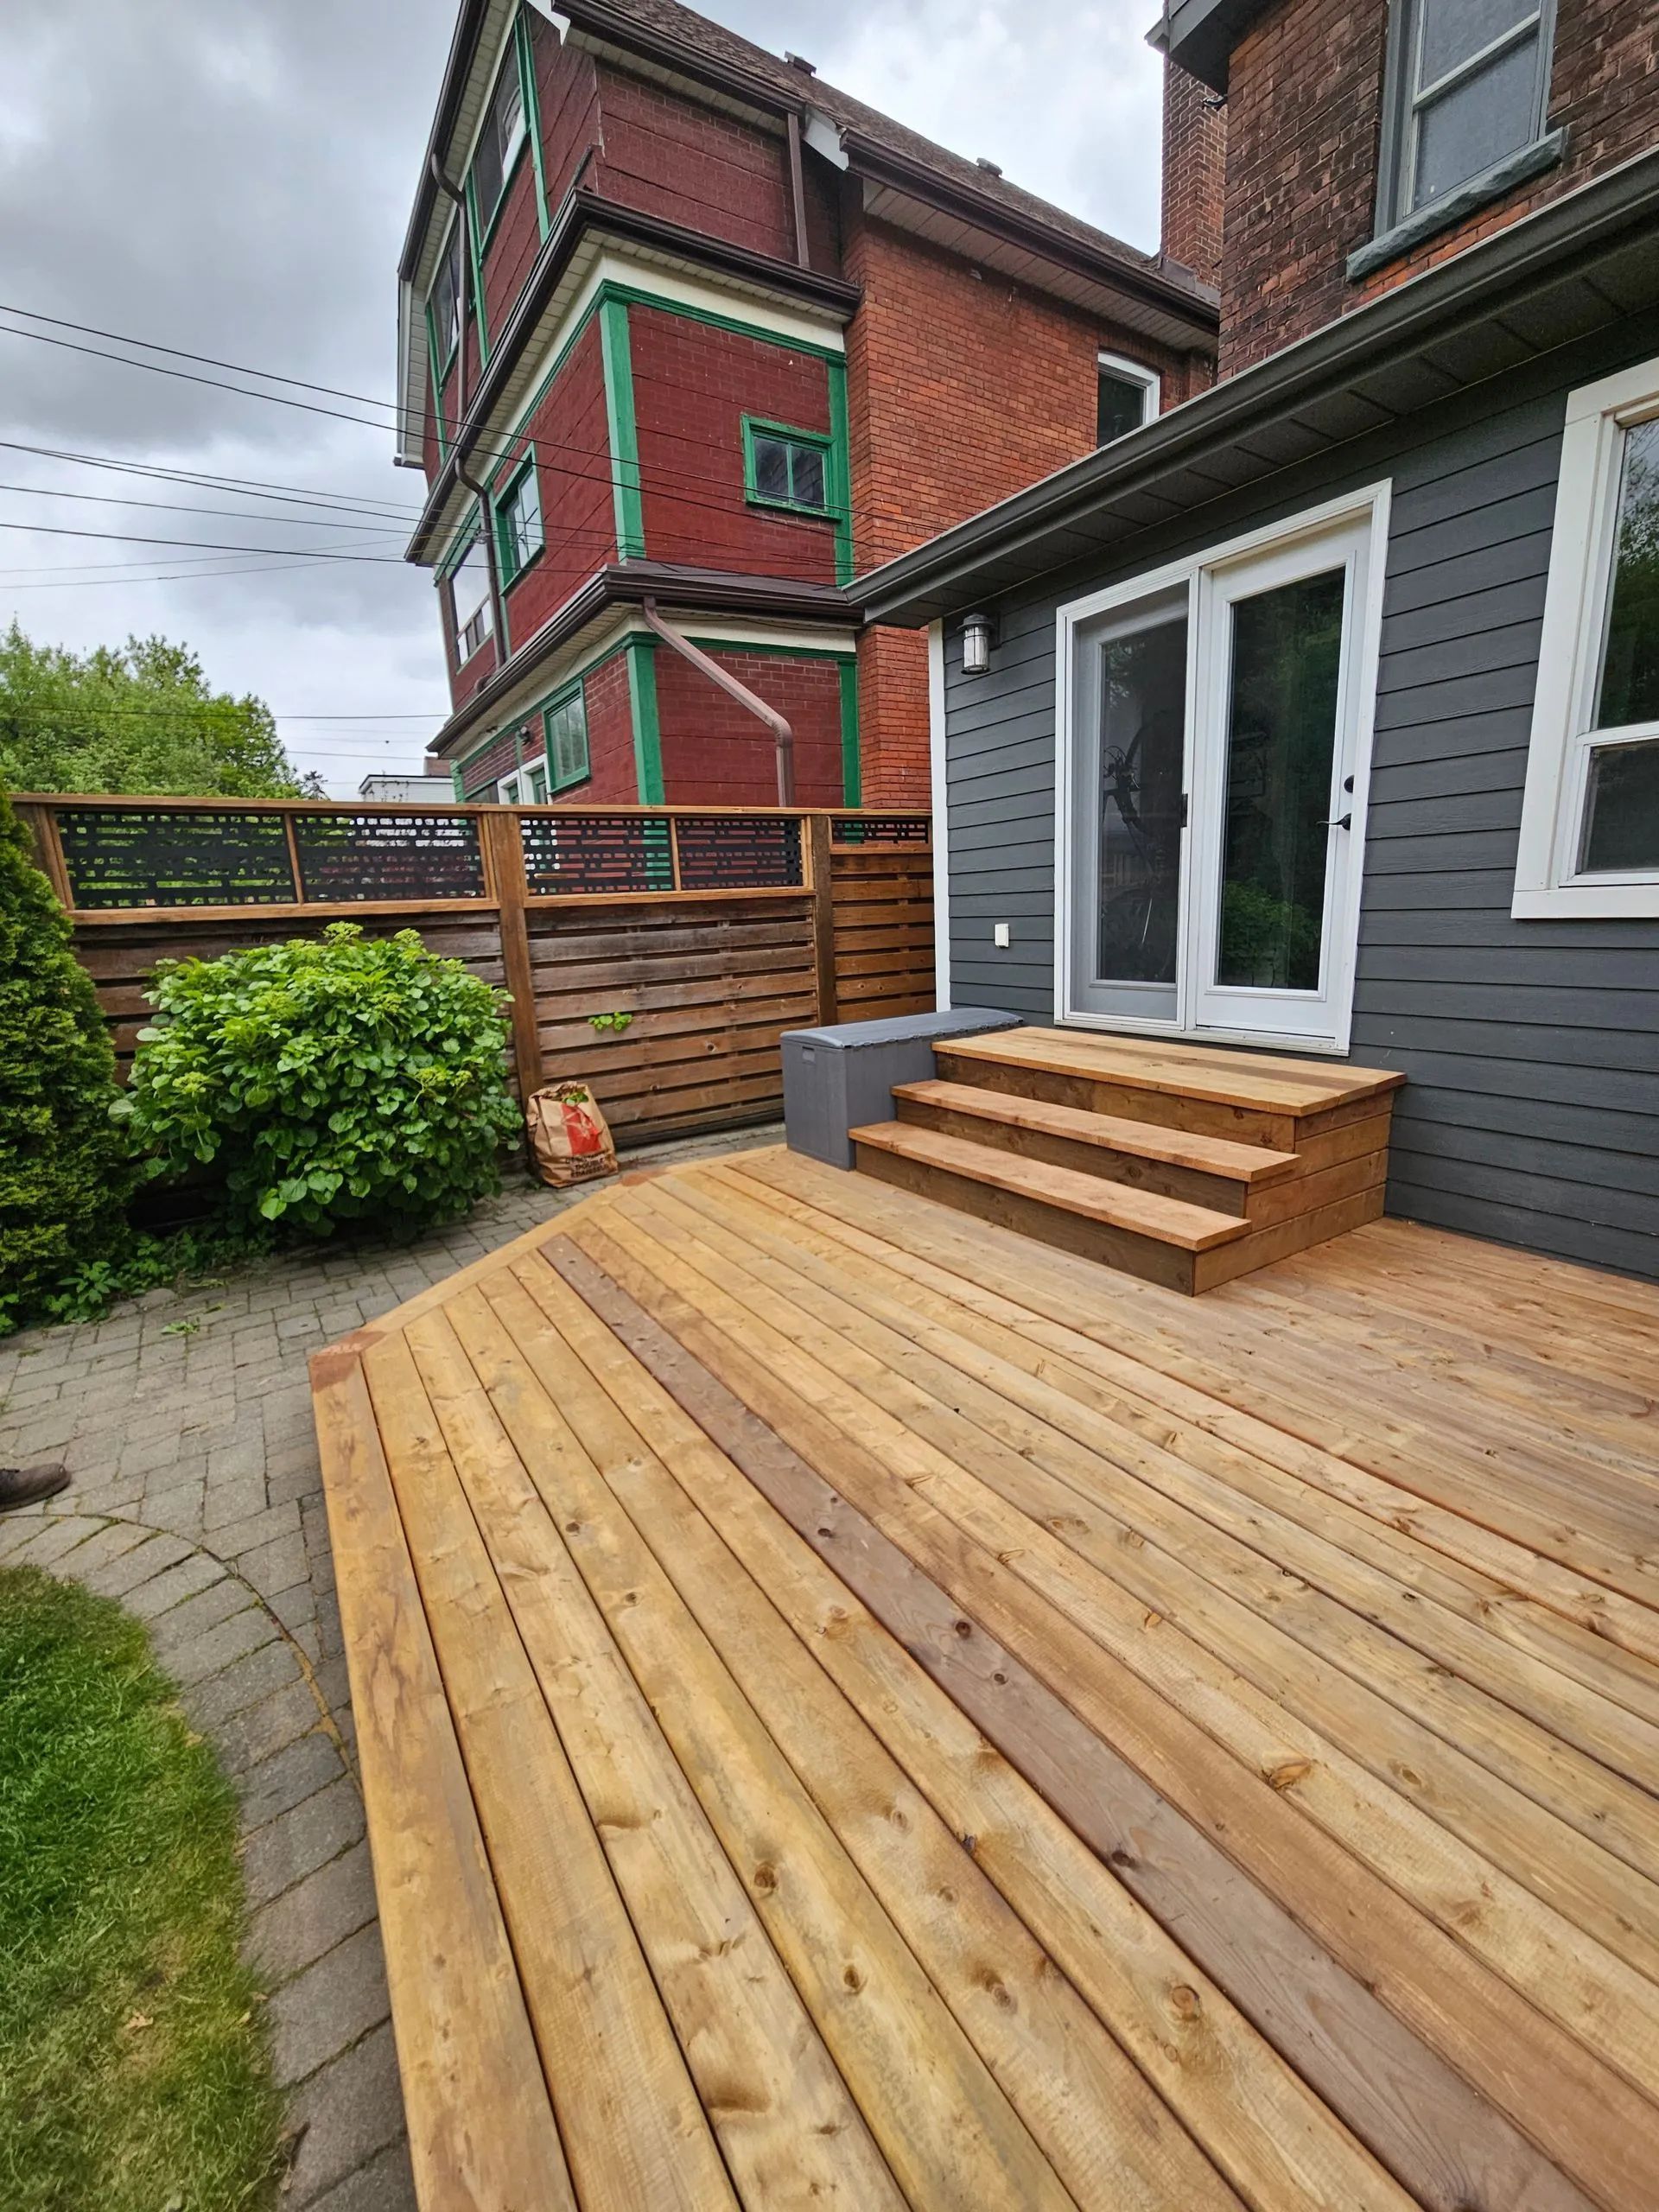
5 Post-Depth Rules for Toronto Fences to Beat Winter Frost Heave
BDH Carpentry • August 19, 2026
Nothing ruins the look of a backyard faster than a fence that leans after a single Canadian winter. When the ground freezes, expanding soil exerts massive upward pressure on anything buried within it. At BDH Carpentry, we know a reliable fence installation requires strict adherence to local building practices rather than taking shortcuts. Protecting your property lines means getting the foundational depth right before the cold weather sets in.
Many property owners underestimate the sheer force of frost heave in Southern Ontario. Setting posts into shallow holes guarantees structural failure once the temperatures drop. Building a secure barrier requires an understanding of soil composition, water drainage, and the minimum depths required by local codes. By following proper rules, you ensure your outdoor structures stand perfectly plumb for decades.
In This Article:
- Tip #1: Dig Past the Frost Line During Fence Installation
- Tip #2: Widen the Base to Create a Bell Shape
- Tip #3: Add a Drainage Layer Below the Post
- Tip #4: Match Depth to Your Soil Type
- Frequently Asked Questions
Tip #1: Dig Past the Frost Line During Fence Installation
The most critical rule in any outdoor build is ensuring the bottom of your post sits below the point where ground water freezes. In the Greater Toronto Area, the building code identifies this frost line at approximately forty-two inches deep. Stopping at two feet allows freezing soil to easily grip the post.
• Always dig holes to a minimum depth of forty-eight inches to provide a safe buffer.
• Use a tape measure in every hole, as guessing the depth leads to shallow corners.
• Remember that a post pushed up by frost heave rarely settles back into its original position.
Tip #2: Widen the Base to Create a Bell Shape
Standard power augers drill a perfectly straight hole, giving freezing soil a uniform surface to push against. Trade professionals modify the bottom of the hole to create a mechanical anchor that resists upward pressure. A bell-shaped footing locks the concrete deep underground.
• Use a manual digging bar to widen the bottom few inches of your augered hole.
• Ensure the bottom diameter is wider than the top so the cured concrete forms a wedge.
• Avoid tapering the top of the hole outward, which creates a lip that frost can catch and lift.
Tip #3: Add a Drainage Layer Below the Post
Water pooling under your wooden post is a recipe for winter heaving and premature rot. Even pressure-treated lumber will decay if it sits in a puddle year round. Creating space for water to escape extends the lifespan of the wood.
• Pour about six inches of clear angular gravel into the bottom of the hole.
• Tamp the gravel down firmly so the post has a solid, level surface to rest on.
• Never seal the absolute bottom of the post in concrete, as moisture needs a path to drain.
Tip #4: Match Depth to Your Soil Type
Not all dirt reacts to freezing temperatures the same way, and local soil conditions dictate how much shifting you can expect. Heavy clay holds water tightly and expands aggressively when frozen. Sandy soils drain much faster and experience less violent frost heave.
• Add an extra six inches of digging depth if you hit heavy clay to bypass standard minimums.
• Test your soil by squeezing a handful to see if it clumps like clay or falls apart.
• Wait a full forty-eight hours before doing any deck maintenance near the newly set posts.
Frequently Asked Questions
What depth should fence posts be in Ontario?
In Ontario, posts must be buried below the frost line to prevent the ground from pushing them out during winter. For most of the Greater Toronto Area, this means digging holes to a minimum depth of forty-eight inches. Taller barriers should be buried even deeper to account for increased wind load.
Should I use concrete or gravel for fence posts?
Professional builders use a combination of both materials to ensure stability. A layer of angular gravel at the very bottom provides essential drainage to keep the wood out of standing water. Concrete is then poured around the sides of the post to lock it firmly in place against heavy wind gusts.
How do you stop a fence from leaning in soft soil?
Soft soil requires a much wider footing to spread the lateral load over a larger underground area. Using a larger diameter auger bit creates a bigger concrete anchor that prevents the post from slicing through the soft earth. Properly compacting the soil around the top of the cured footing adds surface support.
Securing Your Property Lines
Doing the heavy digging up front ensures you never have to worry about crooked posts after a harsh freeze. Proper installation means your outdoor structures will handle heavy winds and frozen ground year after year without shifting. If you need a reliable barrier that stands the test of time, it is time to bring in professionals who refuse to cut corners. Contact the team today to schedule an installation built on a solid foundation.
Share This Blog